Image Format Converter
Choose WebP, JPEG or PNG, set a quality level, then upload an image. The tool redraws it in your browser, shows the original and converted versions side by side with their sizes, and gives you a download button.
Updated · by the Linkstonic team
What happens when you pick a file
The converter draws your image onto an HTML canvas and exports it in the new format. That approach is private and quick, and it explains the quirks below.
Set options first
The conversion runs the moment you choose a file, using the format and quality selected at that time. Changing them afterward doesn't redo it, but the download name does change, so a JPEG can end up saved as converted.webp. Pick settings first, and reload the page to convert the same file again.
Quality slider
Runs from 0.1 to 1.0 in steps of 0.05 and starts at 0.85. It applies to WebP and JPEG, which are lossy. PNG is lossless, so the browser ignores the slider and a PNG export can come out larger than the JPEG you started with.
Same pixels, fewer extras
The output keeps the original width and height. There's no resizing or cropping. Redrawing on a canvas drops EXIF data such as camera model, capture date and GPS location, and an animated GIF comes out as its first frame only.
Transparency
WebP and PNG keep transparent areas. JPEG has no transparency, and the canvas fills those areas with black, so a logo on a transparent background turns into a logo on a black box. Use WebP or PNG for anything with see-through parts.
Size readout
The info line shows dimensions, the original file size and the converted size in KB, both rounded and marked with ~. The converted figure is estimated from the encoded data length at three quarters of its base64 size, which is close to what the downloaded file will weigh.
A product photo to WebP
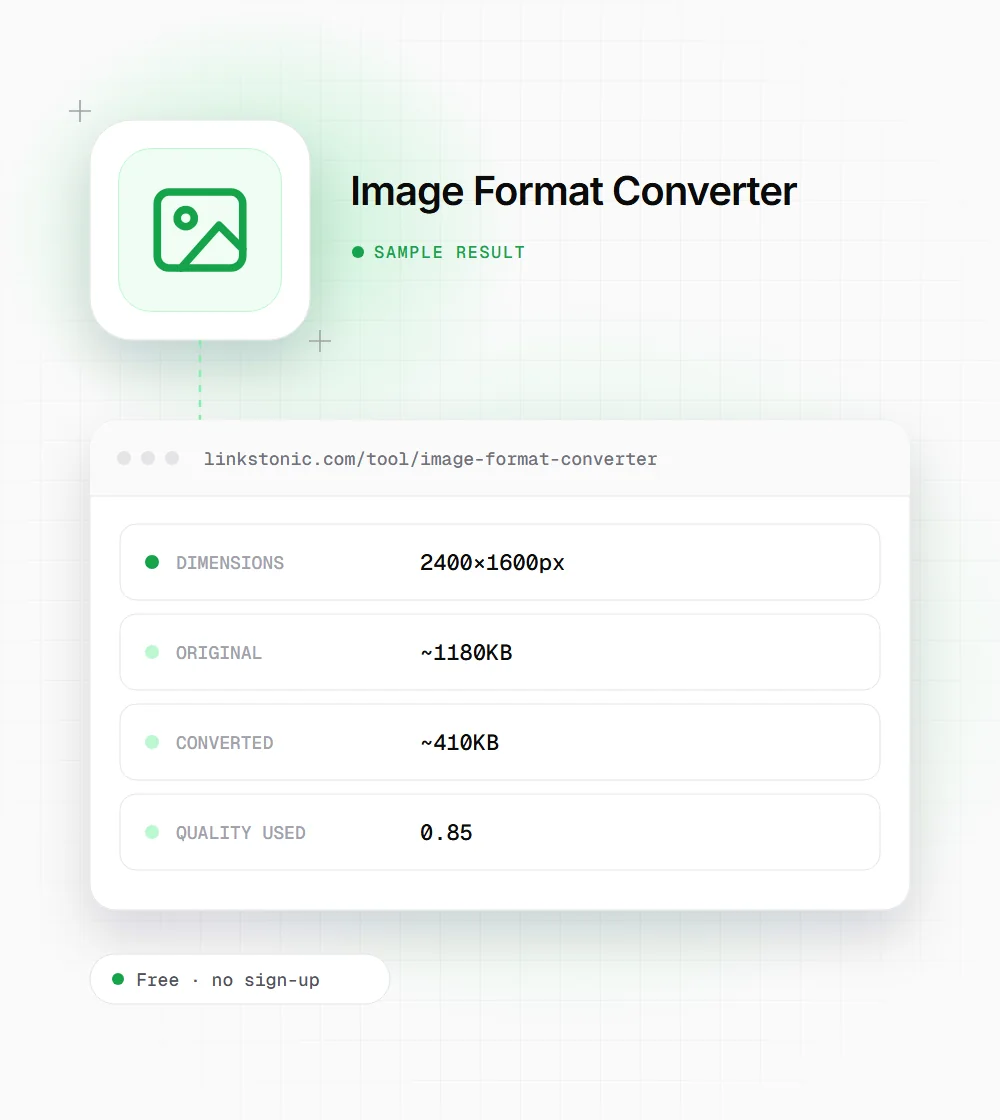
An illustrative run: a 2400 by 1600 pixel JPEG product photo, converted to WebP at the default quality. Your exact sizes depend on the image content.
File: sofa-grey-linen.jpg (about 1.2 MB)
Output format: WebP
Quality: 0.85
Photos with smooth gradients and soft backgrounds usually shrink the most. The dimensions stay the same, so for an 800px-wide product grid you'd still want to resize the image separately. WebP savings on flat graphics and screenshots tend to be smaller.
Common reasons to convert
Format changes come up in a handful of everyday situations.
Site owners fixing page speed
PageSpeed Insights often suggests serving images in next-gen formats. Converting large JPEG and PNG files to WebP before upload is one of the simplest ways to act on that, especially on a CMS without an image plugin.
Store owners with transparent product shots
A cut-out product saved as PNG can be heavy. WebP keeps the transparency at a much smaller size. The reverse also happens: a marketplace that rejects WebP needs a JPEG or PNG copy.
Anyone sharing photos privately
Since the canvas strips EXIF data, a converted copy no longer carries the GPS coordinates a phone camera may have embedded. That's a handy side effect before posting a photo taken at home.
Format is only half of image weight
WebP is a sensible default for the web now. Every current major browser supports it, and it usually beats JPEG at similar visual quality while keeping transparency like PNG. I'd still keep the original file, since each lossy export throws away a bit of detail you can't get back.
The bigger mistake is dimensions. A 4000px photo shown in a 600px column is wasting most of its bytes whatever the format. This tool keeps the original size, so resize first in an editor, then convert. For images above the fold, a smaller file helps Largest Contentful Paint, one of Google's Core Web Vitals.
Search engines and AI tools don't rank an image higher for being WebP. Google Images, and assistants like Gemini or ChatGPT that describe images from a page, rely on the file name, alt text and the text around the image. Get those right, and treat the format change as a speed fix.
Getting good results
A little care keeps quality up and sizes down.
- 01
Start at 0.8 to 0.85 for photos. Drop lower only if you check the result at full size for blocky edges or color banding.
- 02
Pick PNG or WebP for screenshots, logos and text-heavy graphics. JPEG smears sharp edges and fills transparency with black.
- 03
Rename the downloaded file to something descriptive, like grey-linen-sofa.webp, before you upload it to your site.
- 04
To find the lowest quality that still looks right, convert a photo at 0.85, reload, convert it at 0.7, then compare both files at full size.
- 05
Browsers often ignore picking the exact same file twice. To try new settings on one image, reload the page, set the options, then choose the file.
- 06
Keep your originals in a separate folder. Converting a converted file again stacks compression losses each time.